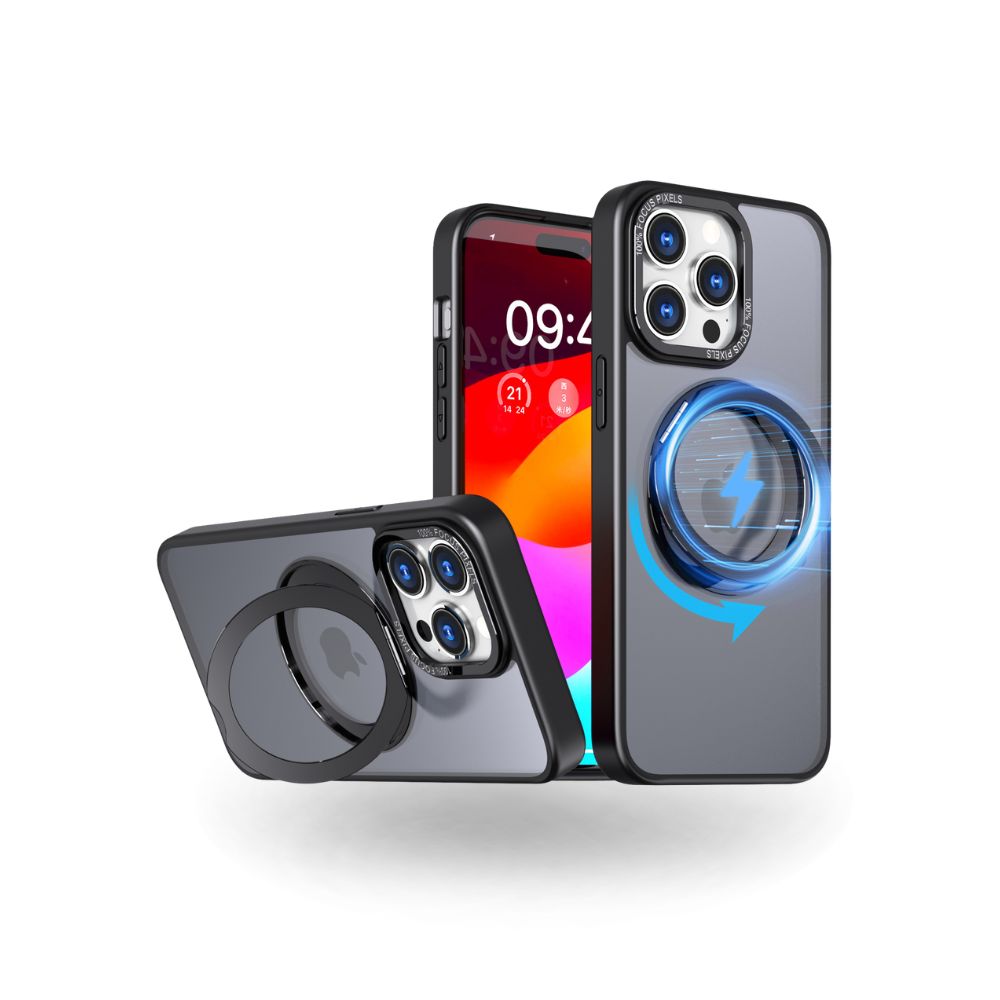

How To Design A Stunning Custom Photo iPhone Case: Full Step-by-Step Guide + Common Mistakes To Avoid
At first glance, creating your own custom photo iPhone case appears simple. You upload a picture and submit your order. However, countless new customers receive finished products that disappoint them: blurry pixelated prints, important parts of photos covered by camera cutouts, awkward cropping, or muted, washed-out colors. The good news is you do not need professional graphic design training to get perfect results. Follow our complete workflow and expert advice to ensure your VenuCases custom case matches exactly what you visualize in your mind.
The Official 4-Step Design Process on VenuCases
- Step One: Confirm your exact iPhone model and select case material. Double-check your device model carefully. Mixing up iPhone 15 and iPhone 15 Pro, or iPhone 14 and iPhone 14 Plus will lead to misaligned camera holes and buttons. After confirming the model, choose silicone, glass, or magnetic MagSafe material based on your preference.
- Step Two: Upload your original image file. You can import photos directly from your phone gallery, cloud storage, or computer files. Single portraits, landscape travel shots, or pre-made photo collages are all accepted inside our creator tool.
- Step Three: Adjust position, scale, and preview the layout. Drag, zoom, and shift your photo freely inside the preview frame. Pay extra attention to the upper central zone reserved for the iPhone camera bump. Never place faces, eyes, or key subjects directly underneath this area.
-
Step Four: Recheck the full preview before checkout. The on-screen preview accurately represents how your printed case will look. Do not skip this critical check before completing payment.

Professional Tips For Sharp, Vibrant Printed Results
- Always use high-resolution original photographs. Downloaded social media photos and screenshots lose quality during compression and will print fuzzy. Select the raw original image saved on your camera or phone storage for your custom printed phone case. Higher pixel resolution delivers ultra-sharp details after printing.
- Plan around the camera cutout safe zone. Leave empty space in the top-middle section of your design. Shift your main subject down or sideways to prevent important content from being blocked by camera hardware.
- Try creative collage layouts. You are not limited to one single image. Combine multiple memories to craft a unique design. Collages look particularly eye-catching on glass custom cases.
- Learn material color differences. Glossy glass custom case amplifies color brightness. Matte silicone softens tones naturally. Pick material according to how vivid you want your photo to appear.
-
Match photo orientation wisely. Vertical portrait images fit the shape of iPhone backs naturally. Wide landscape photographs require careful scaling to avoid cutting off critical scenery.

Frequent Mistakes All Custom Case Shoppers Should Avoid
- ❌ Uploading compressed screenshots from Instagram, TikTok or Facebook
- ❌ Skipping preview and ignoring camera bump coverage issues
- ❌ Selecting the wrong iPhone model variant
- ❌ Over-scaling low-resolution small photos to fill the entire case surface
- ❌ Expecting glass-level color brightness on matte silicone material
VenuCases’ online designer runs fully within your browser. No downloads, plugins, or complicated software installation required. Whether you design the case for personal use or prepare a personalized gift for family and friends, these guidelines help eliminate frustrating printing errors.

Ready to build your custom artwork? Open our design tool and start creating immediately. Visit VenuCases Custom Photo iPhone Case Collection to design your ideal personalized phone case.
0 comments